User Tools
Site Tools
Table of Contents
NMS with ZABBIX 3.2
Installation from Zabbix official repository for Debian 8
# Add zabbix repo to apt sources
wget https://repo.zabbix.com/zabbix/3.2/debian/pool/main/z/zabbix-release/zabbix-release_3.2-1+jessie_all.deb
dpkg –i zabbix-release_3.2-1+jessie_all.deb
apt-get update

# Install mysql server
apt-get install mysql-server

# Install zabbix server and GUI
apt-get install zabbix-server-mysql zabbix-frontend-php

# Creating database
mysql –u root –p
# Enter your root password
mysql> create database zabbix character set utf8 collate utf8_bin;
# With show databases; you can chack whether the database is created
mysql> grant all privileges on zabbix.* to zabbix@localhost identified by ‘<password for zabbix database>’;
mysql> exit

# Check whether this was successful
mysql –u zabbix –p
# Enter your zabbix database password
# If you don't get a error, then it was successful
mysql> exit

cd /usr/share/doc/zabbix-server-mysql/
zcat create.sql.gz | mysql –u zabbix –p zabbix
# Enter your zabbix database password

# Editing Zabbix-server
vi /etc/zabbix/zabbix_server.conf
# The follow rows must be activated:
DBHost=localhost
DBName=zabbix
DBUser=zabbix
DBPassword=<zabbix database password>
# Save the file and start the zabbix-server
servicr zabbix-server start

# Editing PHP configuration for Zabbix frontend
vi /etc/zabbix/apache.conf
# The follow row must be activated:
php_value date.timezone Europa/Berlin

# Now restart apache2
service apache2 restart
GUI: Enter the user name “Admin” with password “zabbix” to log in as a Zabbix superuser.
Download the NetModule template→zbx_export_netmodule_templates.zip
Configuration
SNMP
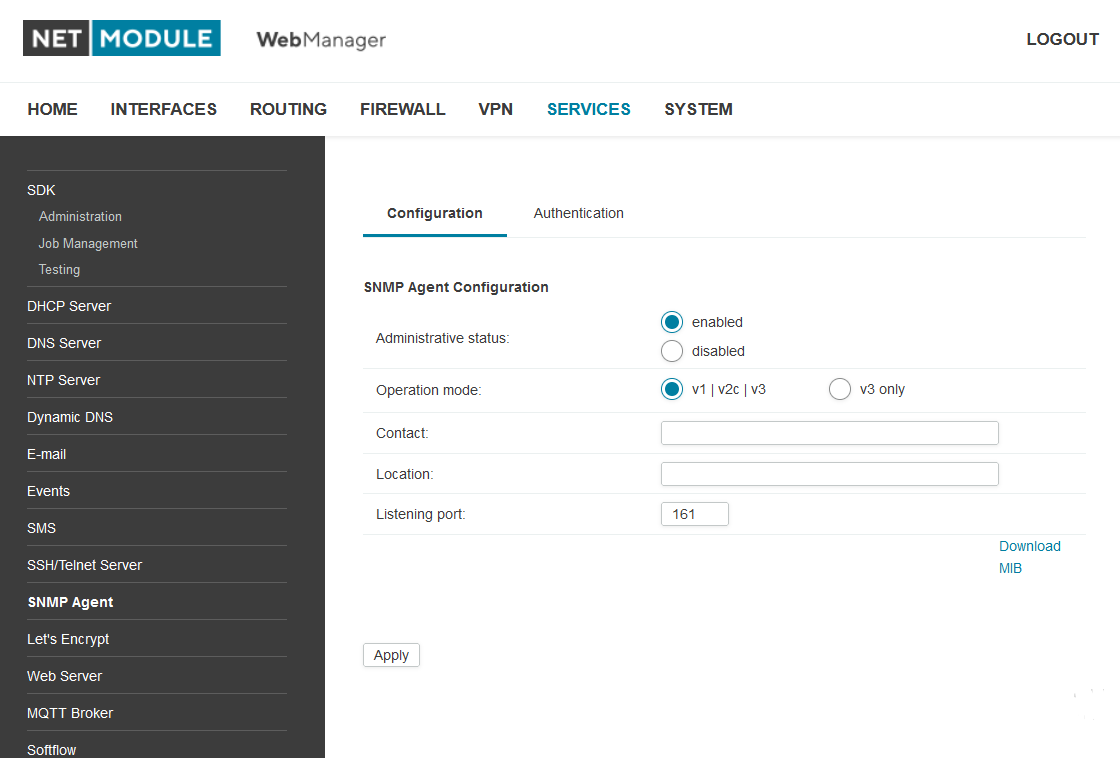
First we have to enabled the SNMP Agent on the router. We need to go to Services→SNMP Agent→enabled→Apply.
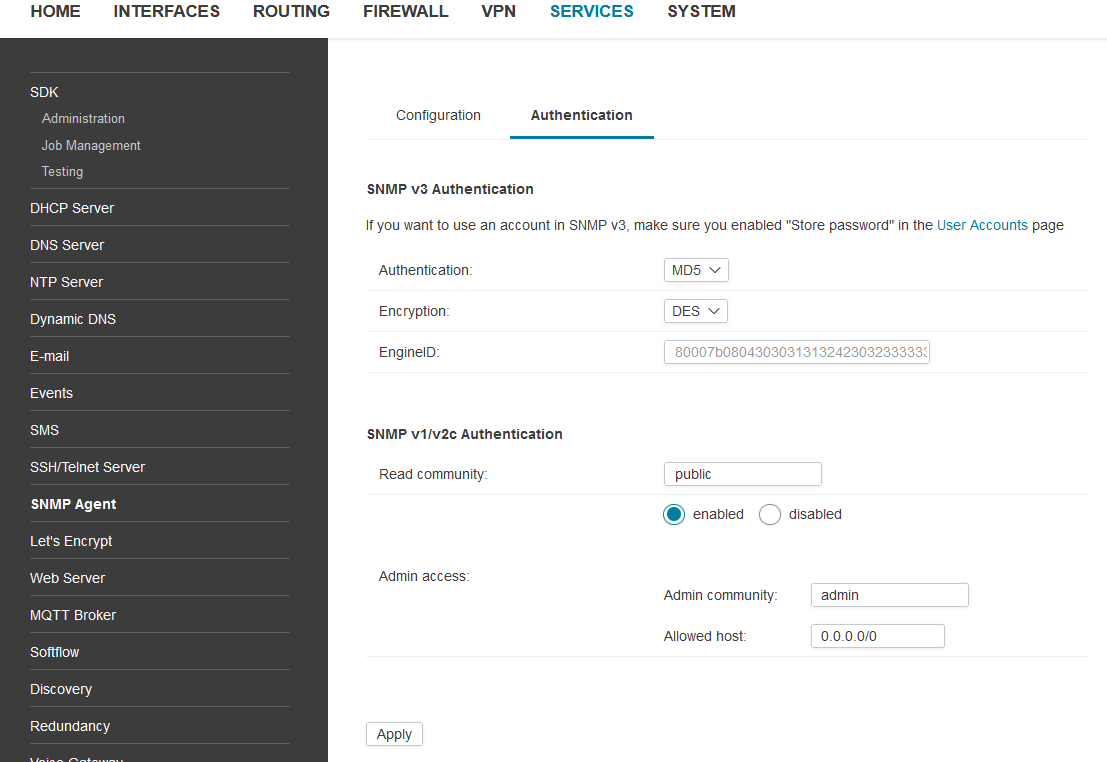
Now we need to enabled SNMP admin access on the router.
Allowed host: only this host is allowed to get/set settings.
How to import the NetModule template
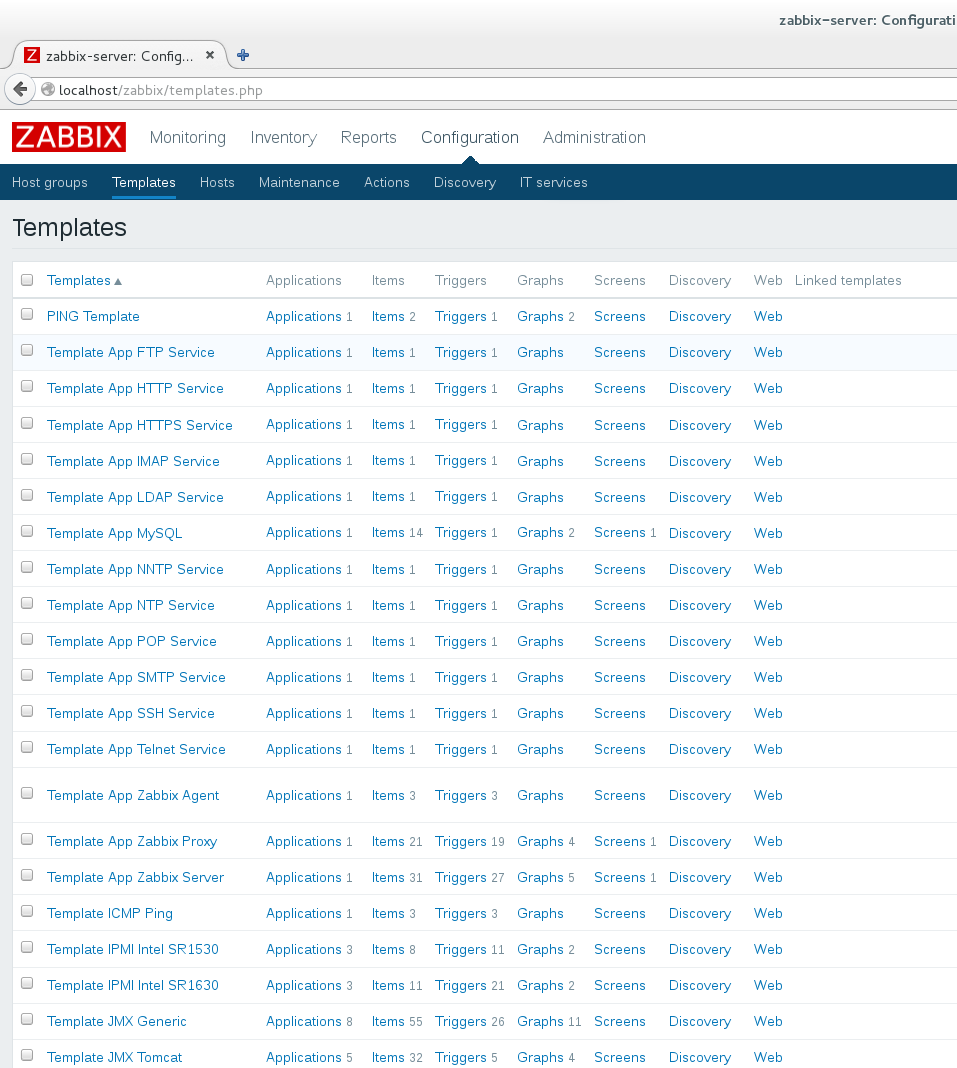
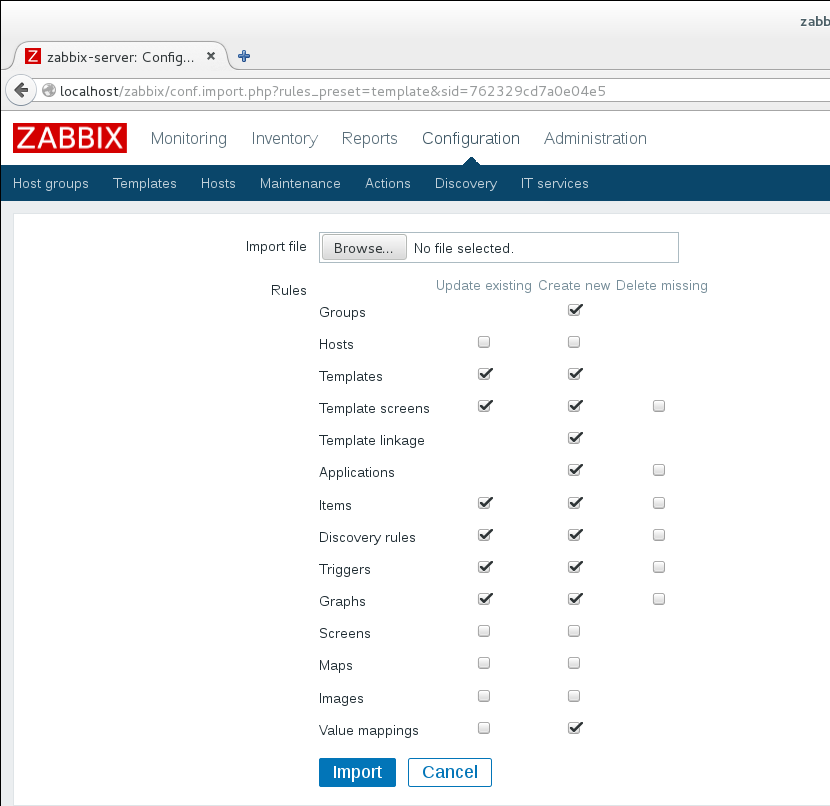
Now you can add the NetModule template for the router. To add the NetModule template for the router you have to go to Configuration → Templates. Now you see all templates in your Zabbix. To import a new template click “Import” upper right.
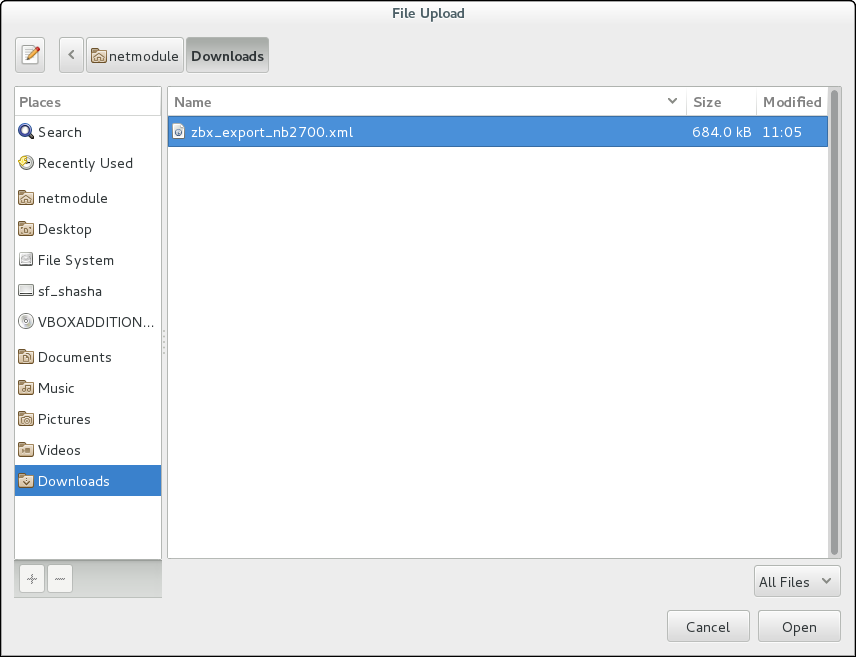
Then click “Browse..”.
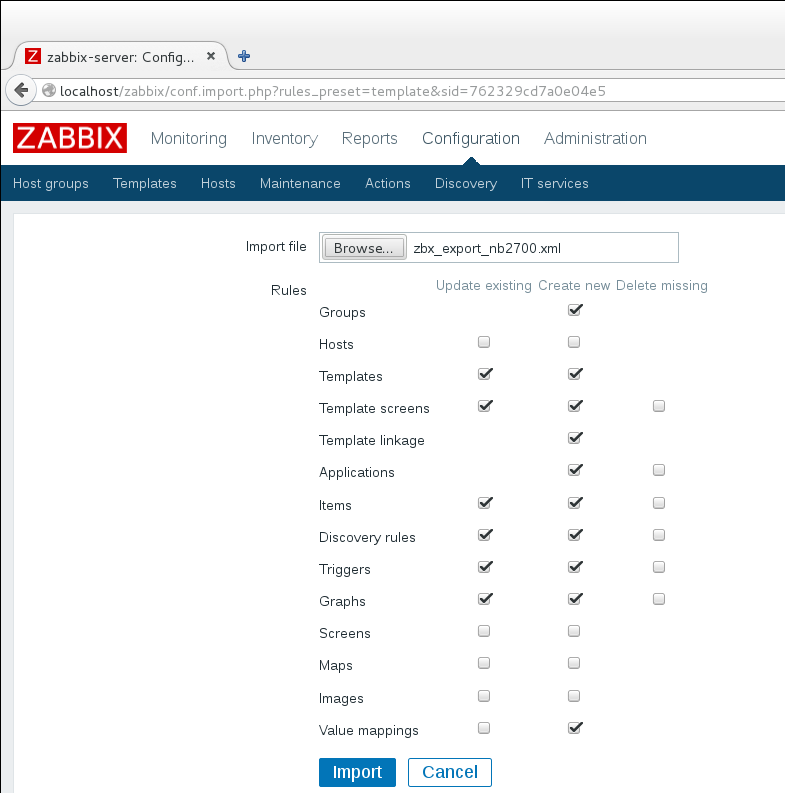
Now move to your folder where the template is saved.
Finally click “Import” to add the template to Zabbix.
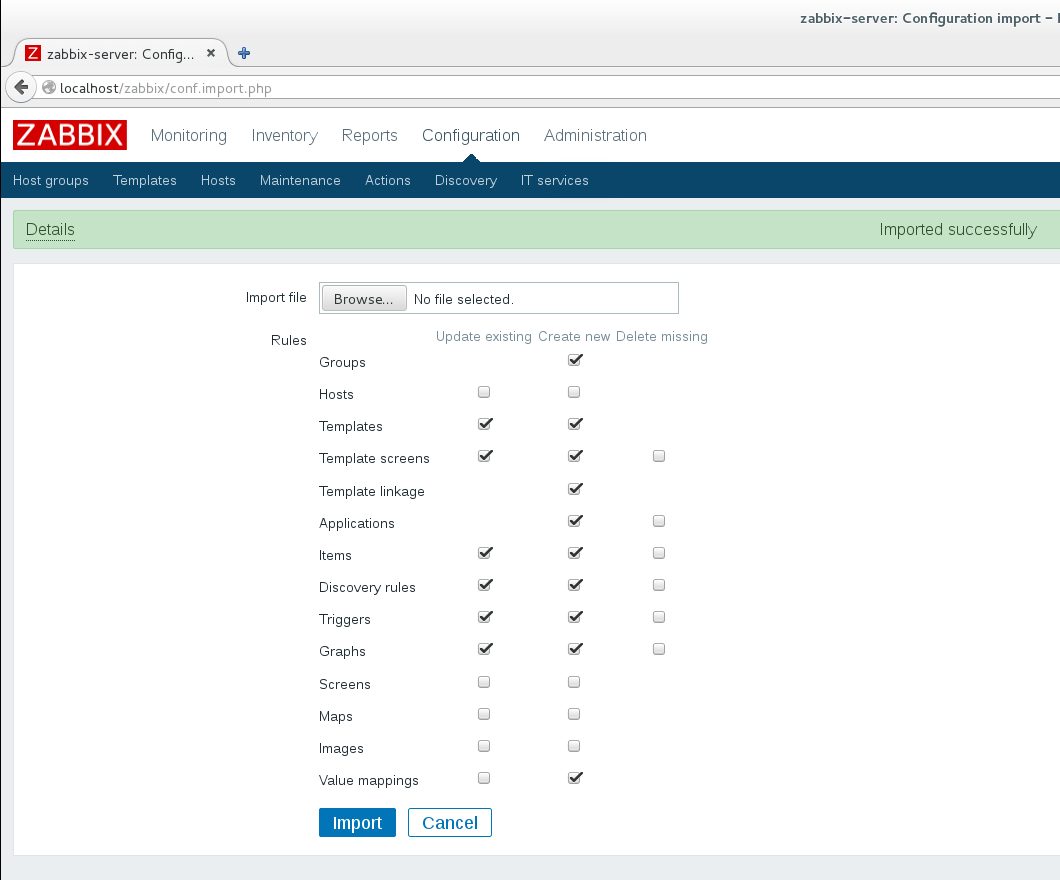
Go back to “Templates” and you can see the new template.

How to create host
Now we need to create a new host. To creat a new host you have to go to Configuration→Hosts→Create host.

We have to remove the “Agent interface”. Then we need to add a new “SNMP interfece”, because we use SNMP for monitoring.
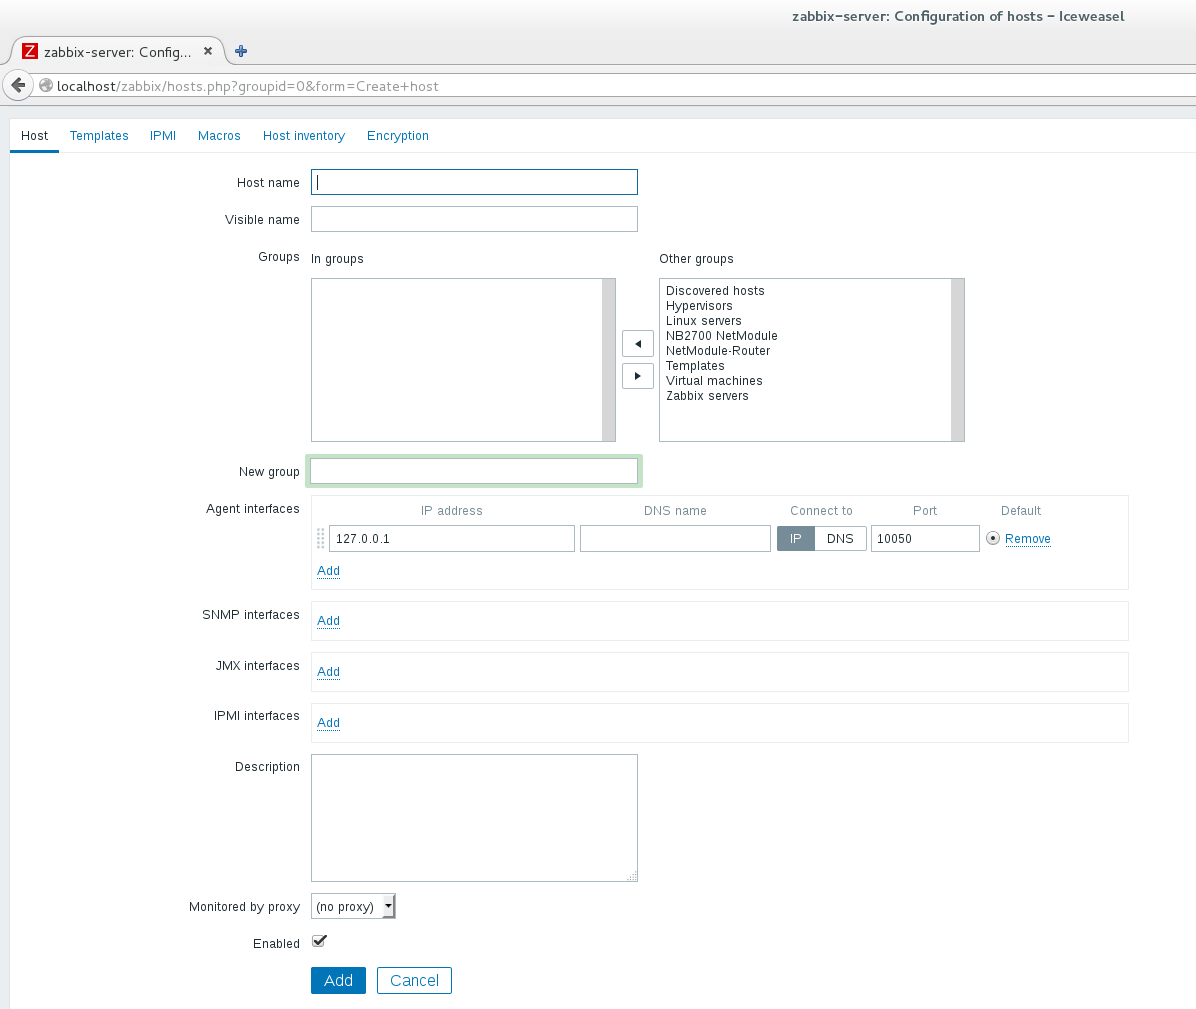
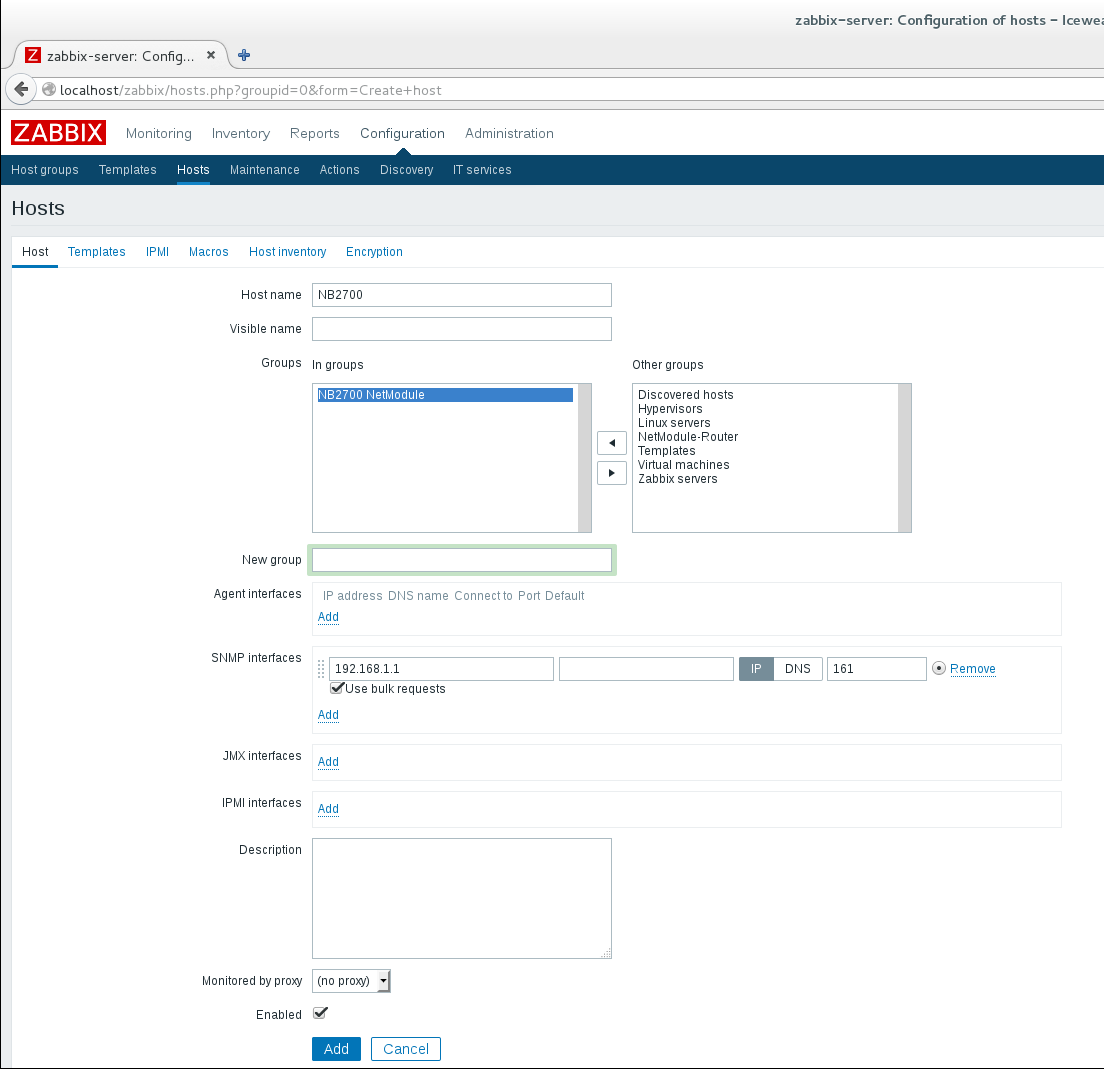
We need to fill the following parameter. If you are done, then click “Add”.
- Host name
- Groups or New group
- Add a SNMP interface (Enter the IP of the host)
Add a template to host
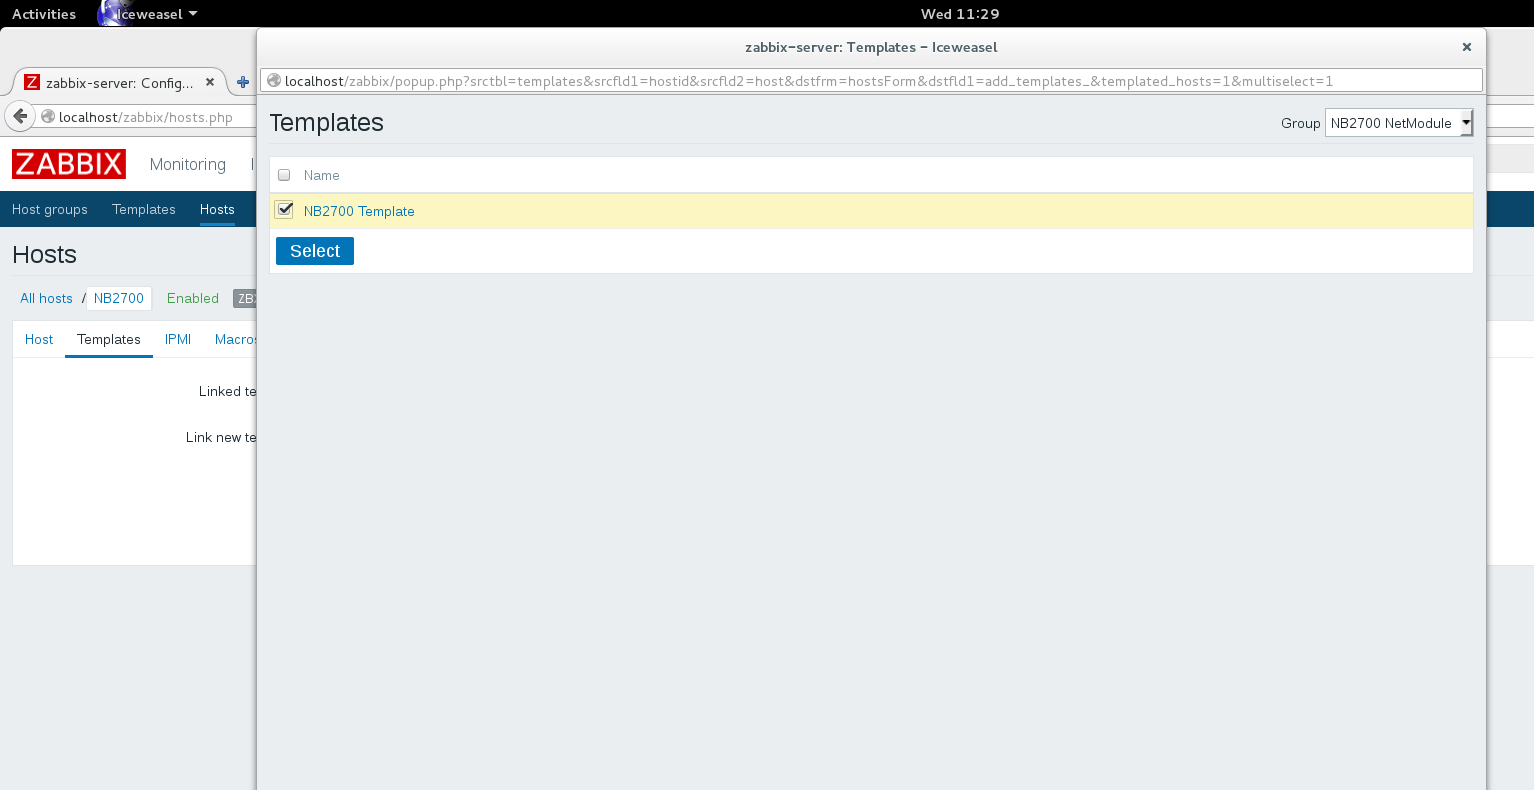
We have added a template and created a new host. The next step is to add the template to the host. We go to Configuration→Host, then click the new host. Now we go to “Templates” and click “Select”.
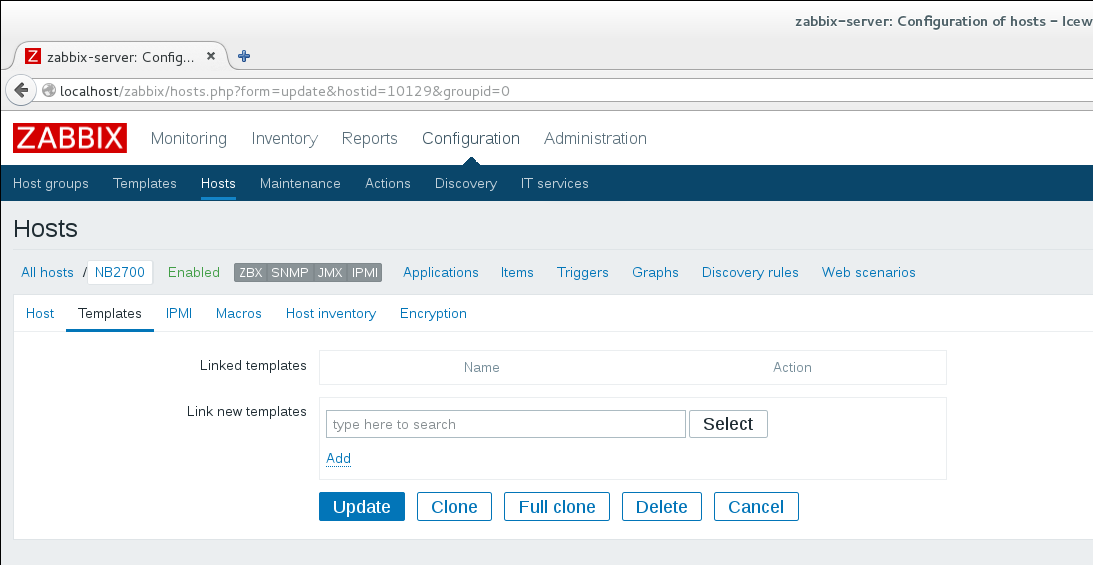
Select the template which you want.
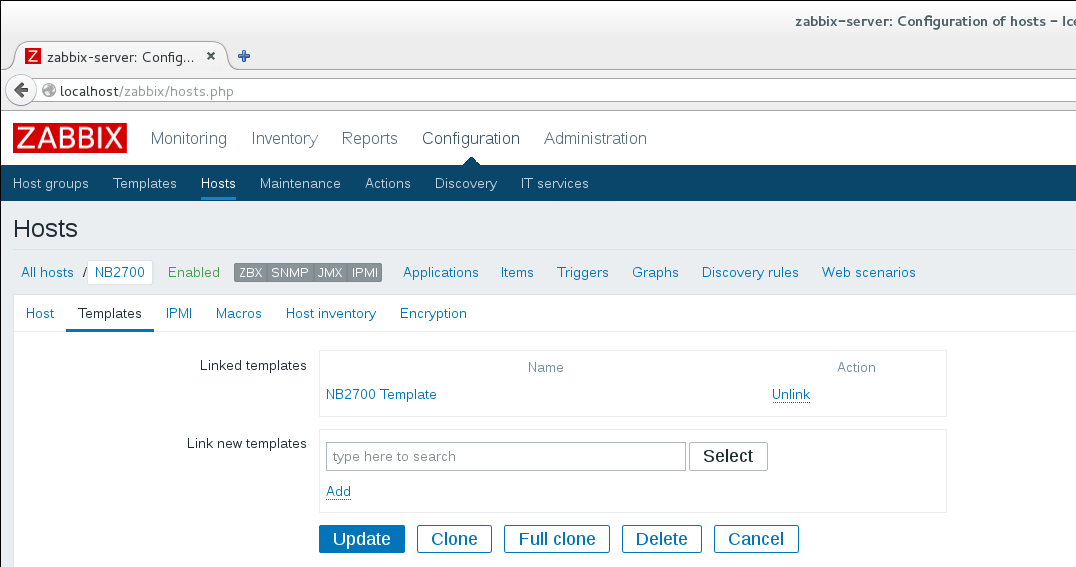
Finally click “Add” and then “Update”.
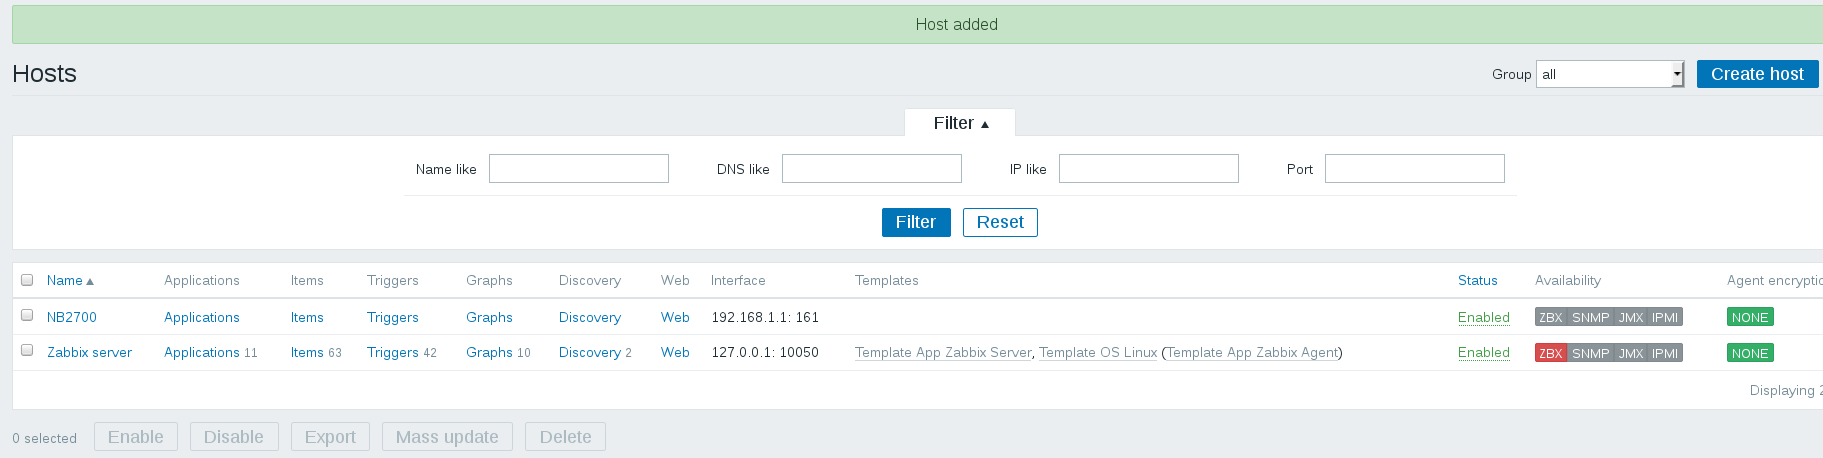
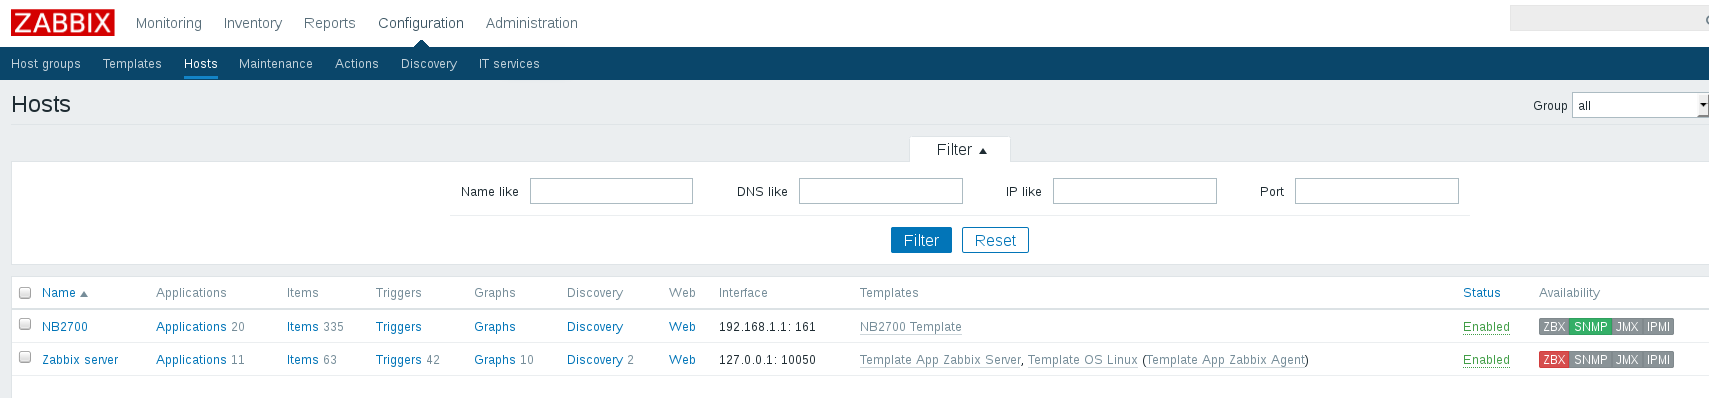
All was successful. The connection between Zabbix and SNMP agent was also successful. We can see this in the column “Availability”. The SNMP are green marked.
How to use the supplied screens
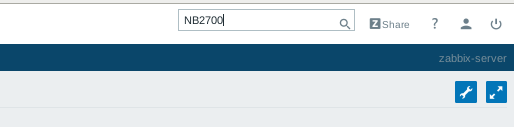
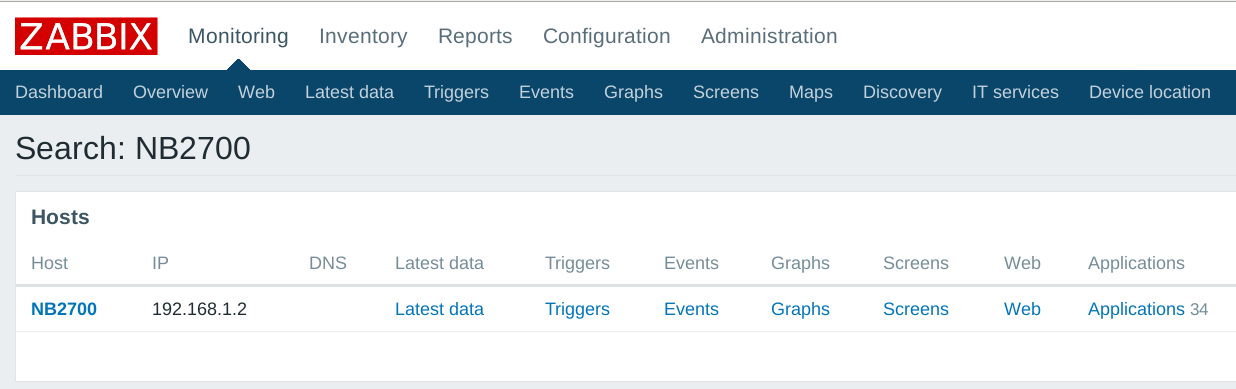
For each parameter we have created a graph. If we put more graphs together then we call this screen. Every application of the router has one screen. If you want you can create your own screens. To use the supplied screens you have to write your host name in the search field and then enter.
Now you have to click on “Screens”.
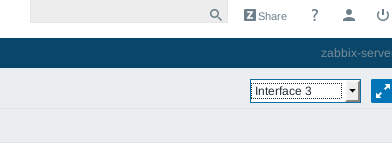
Then you can see all screens. In the picture below we see the screen of the “Interface 3”.
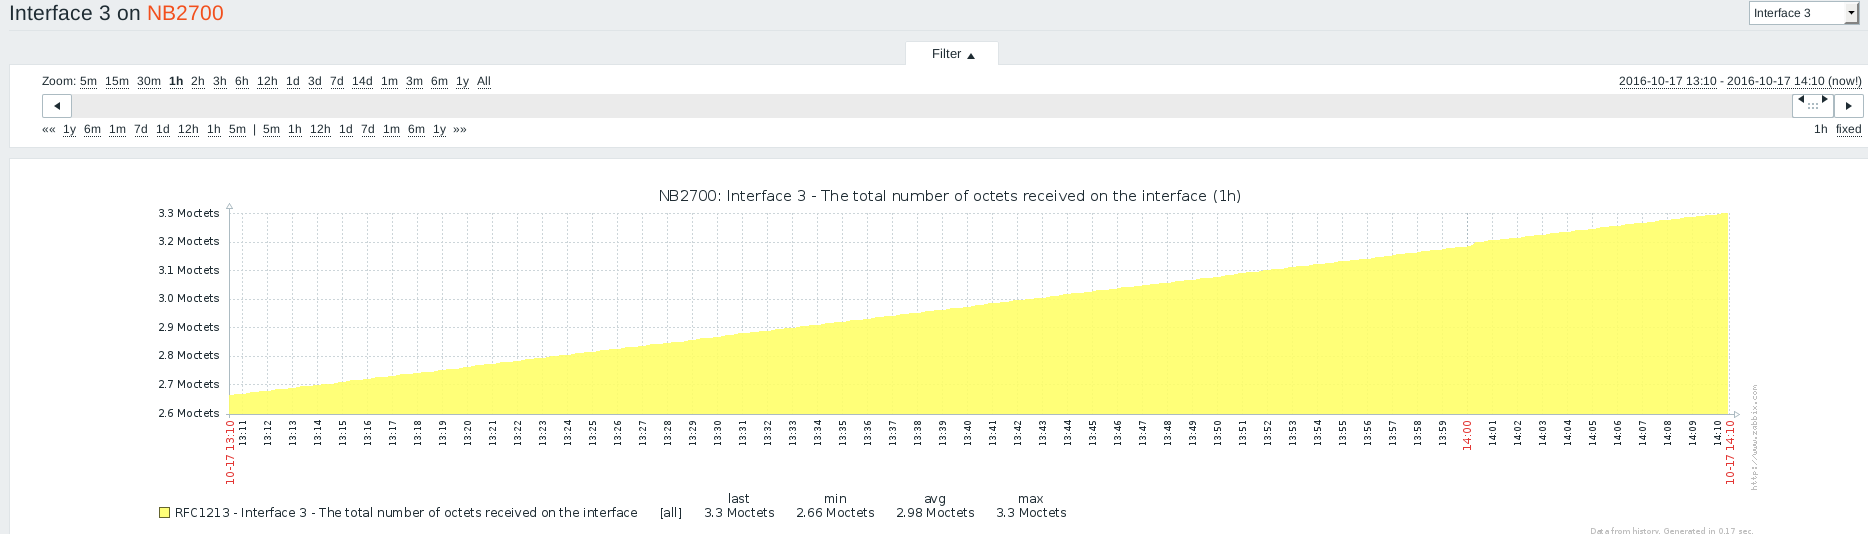
If you want to switch to the other interface you can choose on the upper right the other screens.