User Tools
Site Tools
This is an old revision of the document!
Table of Contents
Coova Chilli Standalone and with backend
Features
Standalone Coova Chilli Captive Portal
In Services→Hotspot you can enable the Coova Chilli standalone Captive Portal With this Captive Portal every WLAN client need to accept the “terms of service” before acces to the internet will be granted. This feature is enabled by default on this patchimage.
OEM Configuration
This patchrelease is equipped with a preconfigured OEM configuration. The configuration is a good starting point for the hotspot service.. Please keep mind that the OEM preconfiguration will delete the current config on your device and apply the OEM Configuration.
Download
Installation
The following section describes the steps you need to execute to have the Coova Chilli WLAN Hotspot running. Please do not install this image if you are not connected directly via ethernet to the router. You will loose any remote access during the installation.
- Visit the web manager and set your administration password
- After connecting your PC to the router via ethernt you should get an ip address from the 192.168.1.0/24 range. Please visit the website http://192.168.1.1:8080 and set your administration password
- WWAN Link installation
- Please configure your WWAN Connection according to the needs of your SIM Card. If this step is successfull you will see a steady Mob1 LED on the front of the router.
- Enable Hotspot Service
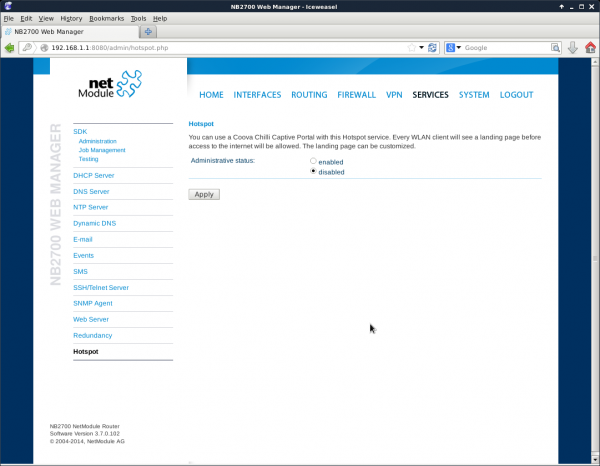
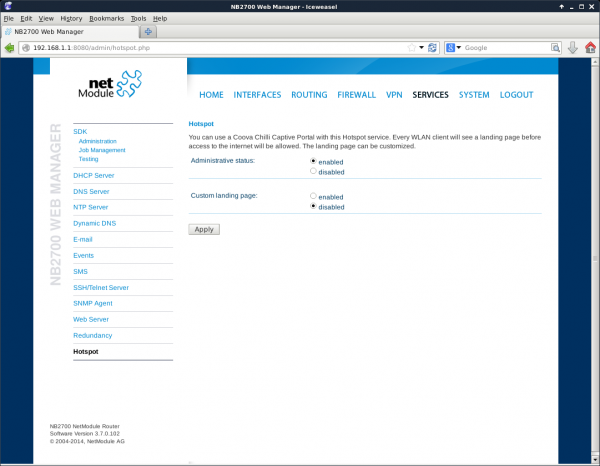
- Please enable the Hotspot Service under Services→Hotspot. From now on every WLAN Client will see a landing page with the default terms of service before getting access to the internet. See Figure 1 and Figure 2.
- Checking the Captive Portal
- Please connect to the WLAN “coovachilli” with a WLAN Client (laptop, smartphone or tablet). Depending on your client device you will get the entry page directly. In most cases you will need to request a webpage with your browser to get the entry page. On this page you need to accept the “terms of service” before you will be forwarded to the Webpage you requested.


Customizing the Landing Page
Download the example package
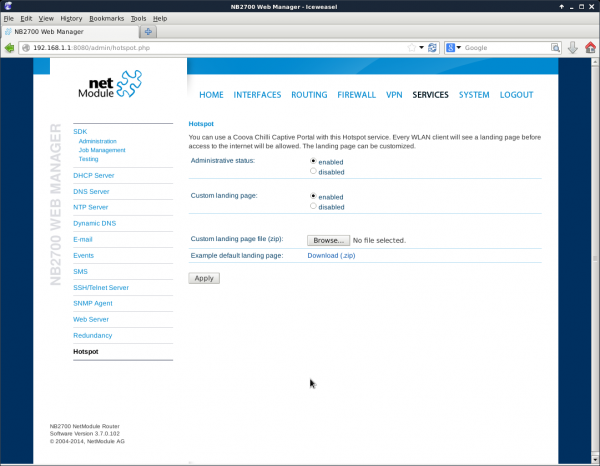
To use your own landing page, please take a look at the example you can find on the on the Services→Hotspot Page after you enabled the Custom Landing Page. The Hotspotservice need to be enabled to get the example file. See Figure 3.
Use the example package
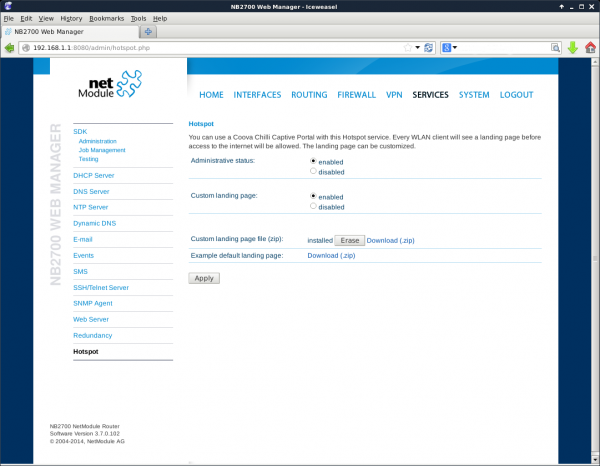
After you downloaded the example packe you can use it directly by uploading it with the with the “Browse” Button. After you choose the the example package and pressed apply you will see the logo on the landing pages changed from the cooca chilli to the netmodule logo. See Figure 4.
Customize the example pages
Please extracted the files from the example package. Based on this files you can customize every page used for a new wlan client. Be aware to not change the filename of the files included. The hotspot service relies on this file names. The files are used as follows:
- coova.html is the first page the WLAN client will see after requesting a webpage, redirecting to the real landing page
- terms.tmpl is the landing page it self, where the user have to accept the terms of service
- login_sucess.tmpl is the success page after accepting the terms of service and will redirect the user to the page requested at the beginning.
- logo.jpg is just an example image you can exchange this as you like.
Every page is basicly a html page with a few lines of javascript for the redirection. You can edit them as you need.
Handling Errors
If you got stock with an error during editing your landing pages you it is passobile to download the example again. Also you can always save the current state of your langind pages from the Hotspot service page. If you like to install a newer version of your custom langing pages please erase the installed version first. See 4.


